Last issue, I discussed staying warm—at home, or at your bug-out-location. This month, I want to talk about what to do if you are on the move. There are some crucial differences between staying warm in a fixed location versus on the move that should be considered.
While equipment and knowledge of fuels is the most Important consideration in a fixed location, you will be much more reliant on skills while moving. Your choice of fuels will be much more limited, due to issues such as weight, availability, and volatility. With these kinds of limitations, your skill set becomes more valuable.
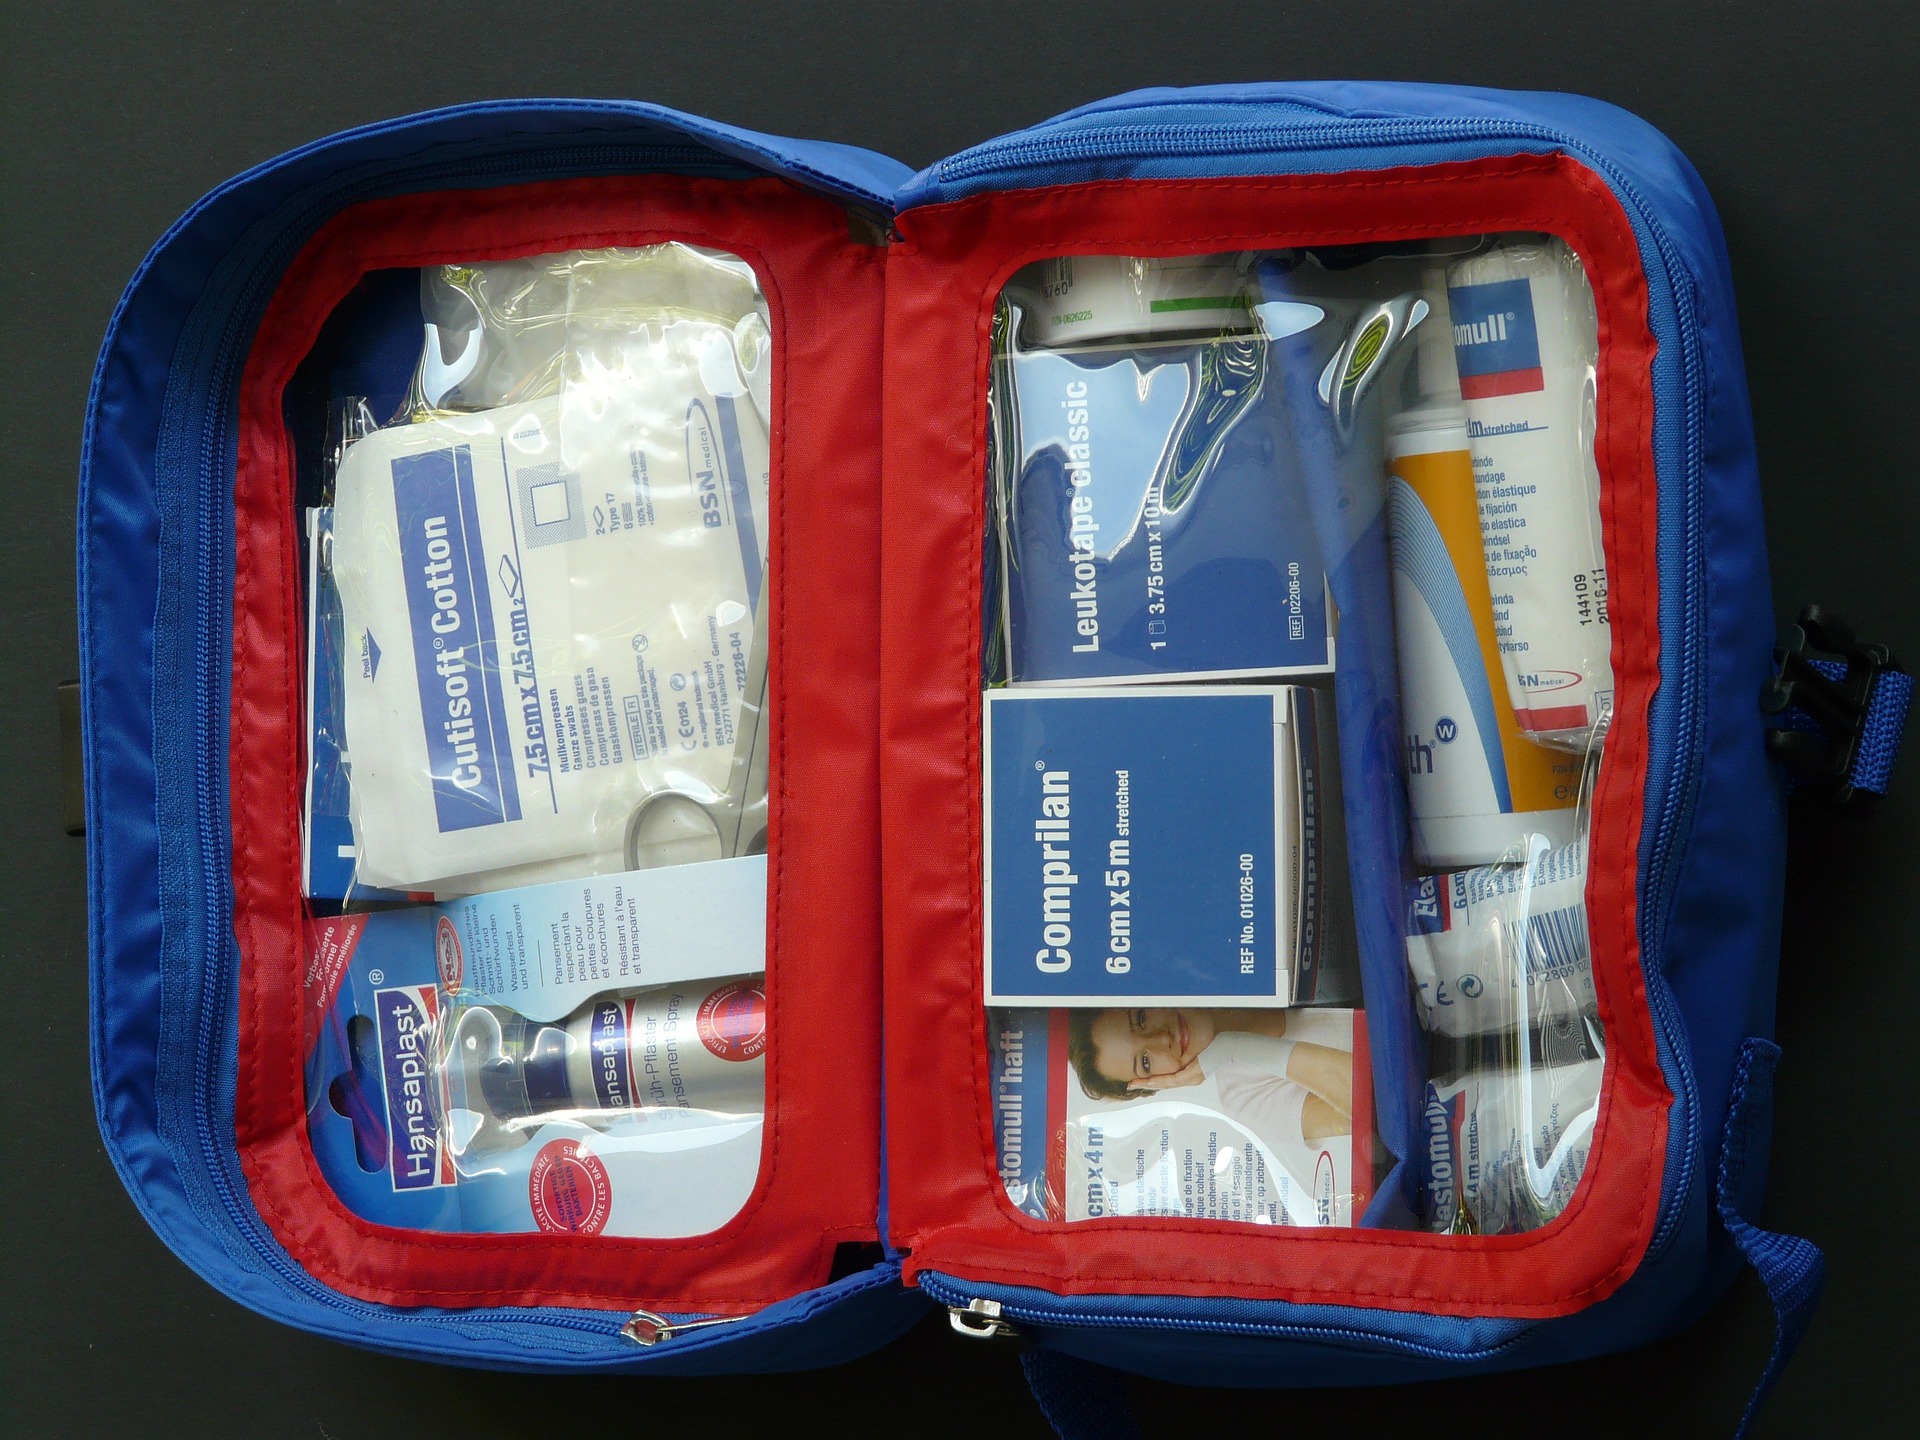
The deeper your skill set, the less you will have to carry with you—however, this isn’t to suggest the right choice of equipment is unimportant. Let’s talk about heat sources, briefly, before we move on to skills. The three most common fuels that you will use are wood, propane, and isobutane. Small heaters are available that burn both propane and isobutane, and if you use either for cooking, then one of these is a good consideration.
In most of the US, you can rely on salvaged wood or similar materials found in nature. This is why my preference is for wood burning stoves—such as the Biolite stove—and the skills to build, start and manage a fire. There are also portable, wood burning, hot-tent stoves which have become popular in recent years.
Stoke the Fire Inside
We have all heard the survival rules of three, and the assertion that we can live for three weeks without food. In a perfect world, this is true; survival situations, however, are not part of a perfect world. If it is cold, your body will burn calories to stay warm; the colder it is, the more you will burn. Your first step to staying warm on the move is to eat enough food to maintain calories. Your second step is to use those calories wisely.
For most of us, most of the time, a high-fat, high-calorie diet is a bad suggestion; when surviving a bug-out, especially in the cold, it becomes vital. When you get cold, you shiver. This is your body trying to produce heat to protect your core. This burns calories at a higher rate than normal, which you must replace quickly to increase your chances of survival.
Packing three days of high-quality, high-calorie, nutrient rich meals and snacks is an important part of your plans. Freeze-dried and retort (MRE style) foods are formulated to provide these kinds of meals for backpackers, outdoorsmen and women, and the military, whose hobbies or profession demand fuel to keep them going. These attributes, combined with the generally long shelf life of these foods, make them an excellent choice.
Doing what is needed to reduce calorie use is just as important as carrying food. Clothing, shelter, and external heat reduce your body’s need to burn calories. Skills may be more important on the move, but the ability to think critically in planning and in a survival, situation is one of the most important skills.
Start The Fire
Starting a fire should be the top priority when building a camp. That is true at any time, but is even more true when you are risking hypothermia. Developing strong fire skills (and an even stronger sense of safety) is one of the most important things a survivor can do to improve their chances.
Every YouTube channel discusses fire kits, but the ones to watch are those that show you how to use them. When you put together a fire kit, you should be able to use (and, in fact, should have already used) every item you include. For example: most matches have little value in a survival situation. They do not, for the most part, hold up to storage or humidity. They do not burn long enough, and if you are using the “strike anywhere” type, you run a minute risk of self-ignition. Some, like the lifeboat style matches from UCO and other sources, are designed to stand up to this kind of abuse and will burn when wet, even submerged, once lit. How are you to know what to expect if you have not tried them?
Other forms of ignition require even more advanced knowledge and practice to use effectively. The critical point is that you practice with your tools beforehand. When the time comes, your practice will be rewarded with a warm fire. You should also develop some skill with primitive techniques for starting a fire. None of these are easy to do, but working through the bugs now will give you a head start for when the chips are down.
Contain the Heat
Once you have warmed up, it is necessary to find a way to contain the heat you generate. We have discovered many ways to do this since our ancestors walked into the first cave and wrapped the first animal skin around themselves. At some point, humans discovered fire, and shortly after that, we discovered that fire consumes fuel, and then, that containing the heat reduced the amount of fuel needed to keep warm and to cook our food.
There are some basic ways we contain the heat that we produce. On the most personal level, it is clothing that preserves the heat we produce by burning calories. Clothing keeps this heat trapped near our bodies in the insulating dead air space between the body and the clothing we wear. In the infancy of human civilization, it was the hair left on the animal skins that trapped air pockets near the skin where heat could be stored.
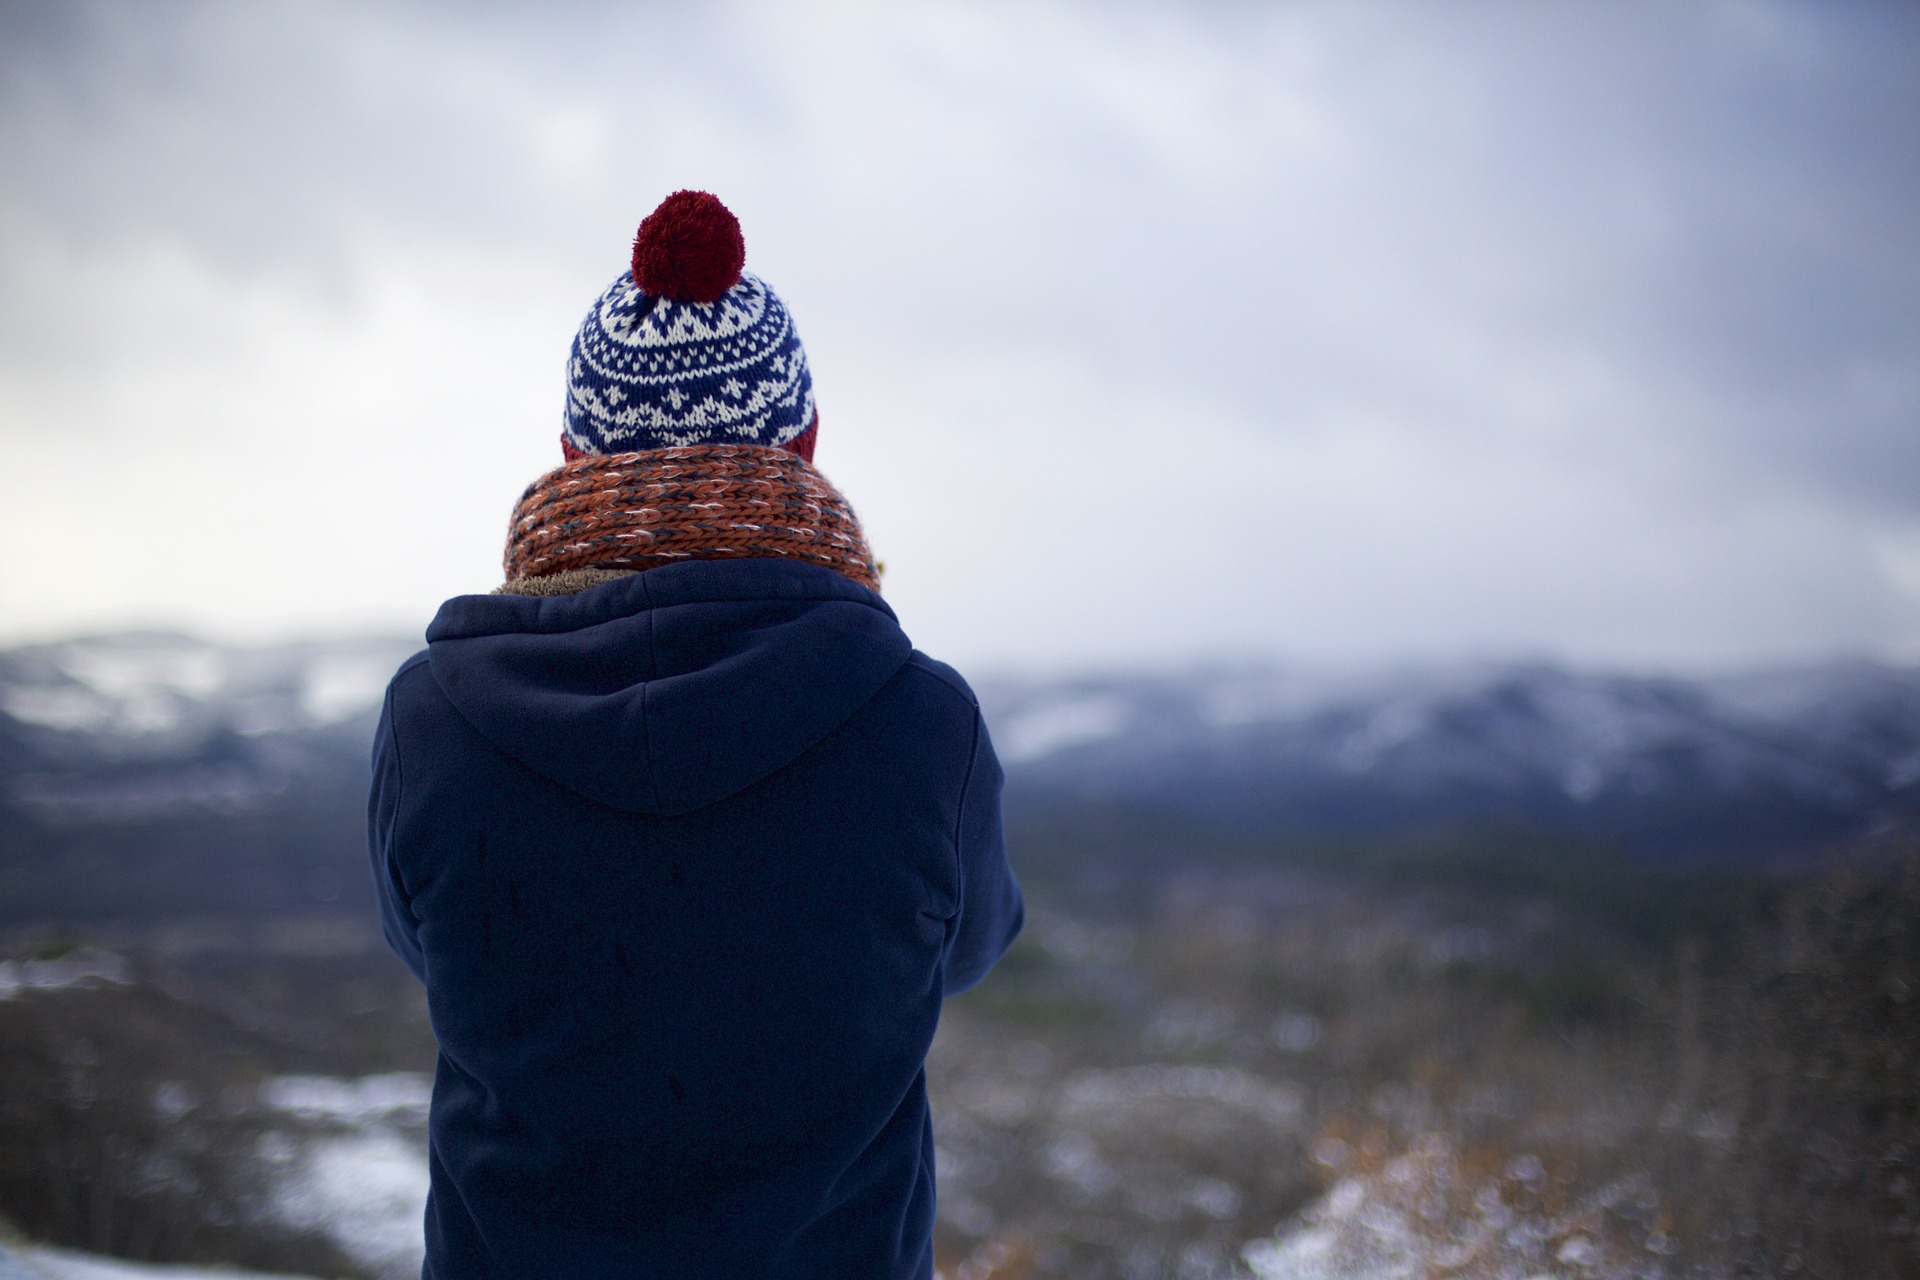
Over the ages we have discovered more and better ways to insulate ourselves from the cold. Choosing the right clothing for the environment is one of those critical decisions that make up proper planning. The selections available today are many and run the gamut from cheap and useless to expensive and toasty warm. In-between, you can find your sweet spot of affordability and usefulness.
You should consider an approach to clothing based on layering. Start with an inner base layer—typically some type of “long underwear.” Then, choose a shirt and pants in moderate weather conditions, followed by a good jacket or coat as the weather gets cold. In conditions of extreme cold and/or wet you will want a waterproof shell layer, top and bottom, to keep the wind, water, and cold out.
The materials the clothing is made of are just as important. Natural fibers, such as wool and silk, make good choices—especially Morino Wool. There are synthetics that are just as good, but there is something comforting about natural fiber that I enjoy. Wool will insulate even when wet, and while it smolders, it does not burn, making it safer than synthetics.
Wool, especially Morino wool, is not cheap. The further away the layer is from the skin, the more synthetics make sense because they can be found at better prices. Materials such as polyester, nylon, and Polartec insulate very well and can be found inexpensively on the surplus market. Commercial versions, such as those found at REI, are more expensive but just as useful. A polar fleece layer over the base layer, then pants and shirt, will keep you warm in much of the US during the most common weather conditions. Snow, cold rain, and high elevations such as you will find in northern mountainous regions and Alaska call for a water- and wind-resistant outer shell to protect from harsh weather.
Wearing your clothing in layers gives you choices as the weather changes. If you are going to be outdoors in cool temperatures—say, between 60 and 40 degrees—a base layer and a regular clothing layer should be enough. As temperatures drop, add a fleece layer to increase the insulating value. When it starts to get really cold or wet, an outer shell keeps the wind and rain out. When the temps start to climb again, you can remove layers until you are comfortable again. Too much insulation for the temperature will cause you to sweat—which will, in turn, cause you to lose vital heat to evaporation.
Build Your Environment
The next step is to build and control your environment. This is where all the training and skill building really pays off. There are three basic stages to building shelter that will keep you warm: One, sleep on something. Two, sleep under something. Third, sleep in something. Let’s take a look at what this means.
The first step is to put some insulation between the ground and your body. There are numerous sleeping bags and pads that provide protection from heat loss through conduction, the tendency of heat to flow from a warm object (you) to a cool object (the ground).
On the other hand, in most environments, you can use natural debris piled and layered to create the same level of protection without the need to carry excess equipment. By creating a deep bed of these natural debris, you make a warm and comfortable place to lay your head. All this dead air space will slow the transfer of heat to the ground.
I will add one of my wool blankets over a debris bed for a little extra insulation. The same can be done with a sleeping bag, That is your choice, but you should use a layering approach here, too: A bed of insulation, and then a system to sleep on. Building with natural materials will let you drop the sleeping pad, but either way, you need that layer of bedding to sleep on.
The second step is to put some insulation over you. This is your sleep system, and there are a lot of choices available. Just like the insulation below you to keep conduction from sapping your heat, you need a layer above you to keep radiation and convection from doing the same. A sleeping bag or some blankets will trap your body heat or the warmth that you have created near your body as you sleep.
What if your situation is unplanned? The same idea behind the insulated bed will apply to reducing heat loss from above. A layer of natural debris above can take the place of a sleep system in an emergency. This might not be ideal, but it could help save your life in a survival situation.
Step three is to have something to sleep in. If you planned ahead, you will have packed some form of shelter. With a tent or tarp in your kit, you will have a head start on shelter. The most important reason to carry shelter with you is the conservation of calories. All work burns calories that must be replaced, and setting up a tent uses less work than building from scratch. On the other hand, tents or tarps do not contain heat as well as a constructed shelter stacked with insulation.
If you have the skills to construct a shelter from natural materials, this will provide you with a shelter that contains heat generated by your body or an outside source. In warmer weather, a lean-to will shelter you and catch a lot of heat.
You can even bring some of the heat inside the shelter if you do so carefully. There are portable heaters fueled by propane or isobutane that will warm up the space if you choose one that is designed to be used safely inside.
There is also the choice of lightweight wood-burning stoves, designed for backpacking, that will not only heat your shelter, but they will also provide a cooking surface for food prep. They require either a tent designed for them, or specially constructed shelter. A tent with a stove jack for the chimney stack, or an opening in your shelter are required to use them safely. They can also be expensive, and even though they fold down, they still take up a good amount of space in a pack.
If you are relying on your survival skills to heat a shelter, there are some techniques that will help. Once you have built a fire, you should keep as much of the heat created from escaping into the air as possible. Place your fire as close to the entrance as possible, so that heat will enter the shelter. Heat can also escape from the other directions as well, so a reflector can be built to contain and redirect the heat into your shelter.
You can also bring heat directly into your shelter. Gather as many fist-sized rocks as you can find from any place but a water source. Pile 10 or 12 of them in your campfire to heat all day as you go about other tasks. This technique will be most useful with an enclosed shelter such as a debris hut, so while you are building it, dig a pit near the entrance. Make sure that you have dug it deep enough to remove any combustible materials that might smoke and ignite during the night.
This pit is your overnight heater. Before you turn in for the night, fill it with the rocks from your fire. These rocks will slowly release the stored heat and keep you warm throughout the night. This can also work for you with tents that do not have a floor, in at least a section of it. Make sure you are careful to allow enough space around the pit to keep the heat from damaging the materials of the tent.
In Conclusion
As you can see, with proper planning, critical thinking, and skill building, it can be relatively easy to stay warm on the move. If you spend the time to learn these techniques and develop a plan, you will travel to your bug-out location in as much comfort and safety as possible.
I will finish by suggesting a couple of book series that will help you learn these skills. Tom Brown’s Field Guide series focuses on primitive skills using few if any equipment to survive. Dave Canterbury’s Bushcraft books teach skills for use with minimal woods crafting tools.